|
|
|
The Adventure Team
M.I.R.V.
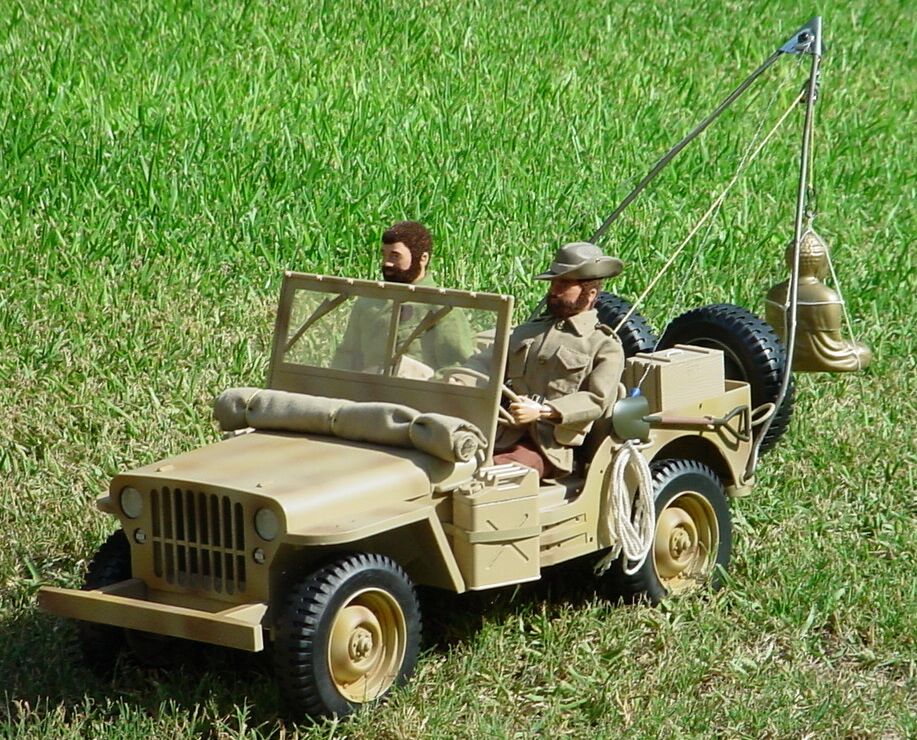
Mummy and Idol Recovery Vehicle
Here's our MIRV: the Mummy and Idol Recovery Vehicle.
It's an SOTW jeep with winch arrangement inspired by a UK magazine article a few months ago on field expedient tow trucks based upon the Jeep. The one in the article that I tried to emulate here had a hand-operated winch. I opted for electrics. Here are some pics of the project with a bit of narrative.
|
|